
How to Install and Configure NGINX for Kibana
In one of my prior posts, I discussed the steps necessary to set up a Single-Node ELK Stack. If you were to follow this guide, Kibana, as it stands, would be accessible to anyone on your network over Port 5601 who knows its IP Address. For myself, I could always socially outcast my roommate if they were to touch my precious Kibana. However, in a more professional environment where bullying is completely unacceptable, this could prove to become a major security issue. Remember, ELK can be used to store logs from endpoints maybe not everyone can or should have access to; an unprotected Kibana can be a treasure trove of information. To remedy this, we will need to install and enable NGINX, a reverse proxy, for Kibana.
What you need:
- A functioning ELK stack (single or multiple node) with Kibana
Install & Configure NGINX
sudo apt-get install nginxCreate a user (kibadmin) to log in to Kibana web interface
NOTE: Enter superuser (sudo su) for the rest of this guide
echo "kibadmin:`openssl passwd -apr1`" | sudo tee -a /etc/nginx/htpasswd.usersType a password, then verify again.
Backup default NGINX configuration file (fires happen)
mv /etc/nginx/sites-available/default /etc/nginx/sites-available/original_backup_defaultCreate your new NGINX configuration for Kibana
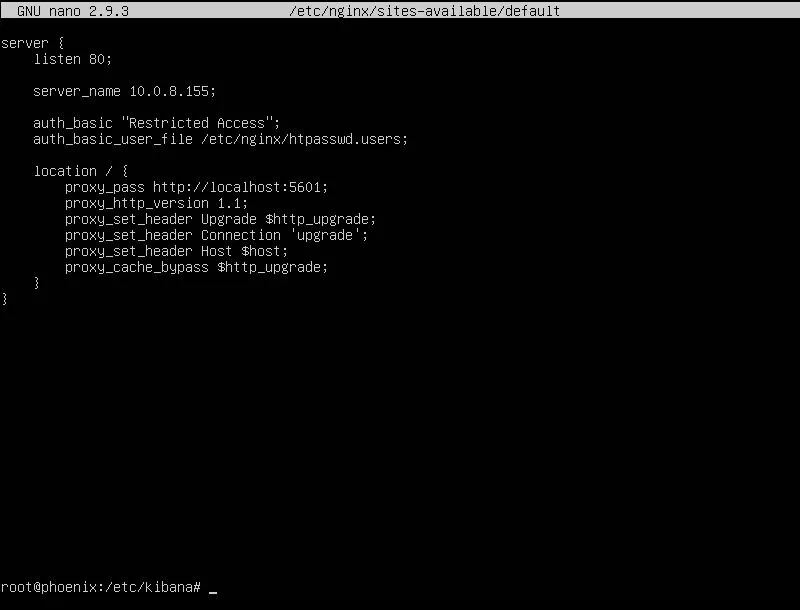
nano /etc/nginx/sites-available/defaultPut the following into the new NGINX configuration file you just created, putting Kibana’s IP address in the server_name field:
server {
    listen 80;

    server_name <YourKibanaIP>;

    auth_basic "Restricted Access";
    auth_basic_user_file /etc/nginx/htpasswd.users;

    location / {
        proxy_pass http://localhost:5601;
        proxy_http_version 1.1;
        proxy_set_header Upgrade $http_upgrade;
        proxy_set_header Connection 'upgrade';
        proxy_set_header Host $host;
        proxy_cache_bypass $http_upgrade;
    }
}
Your file should look like mine below. Once verified, save and exit.
Test the NGINX configuration file to ensure there are no syntax errors
nginx -tEnable NGINX on startup and start the service
systemctl enable nginx
systemctl start nginx
Go to your browser and navigate to your Kibana IP to ensure NGINX is working properly. If so, the following windows should appear:
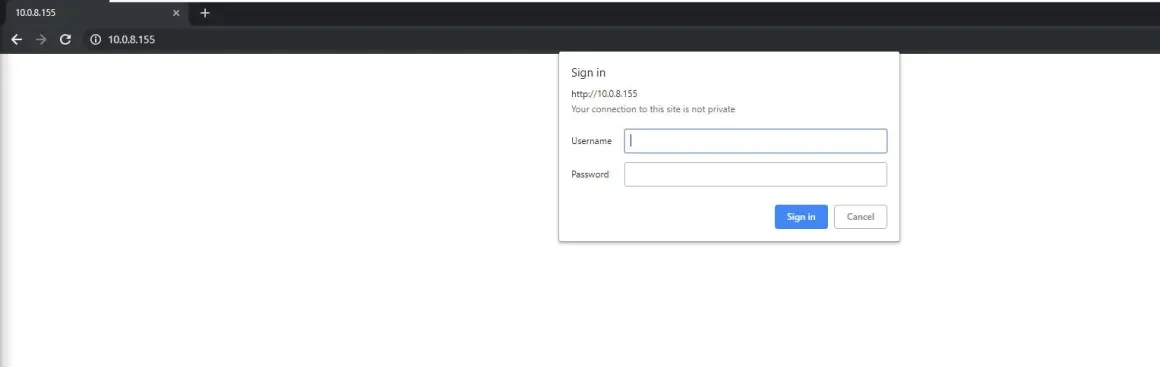
Enter the username (kibadmin) and the password you created earlier. If successful, you should be allowed into Kibana:
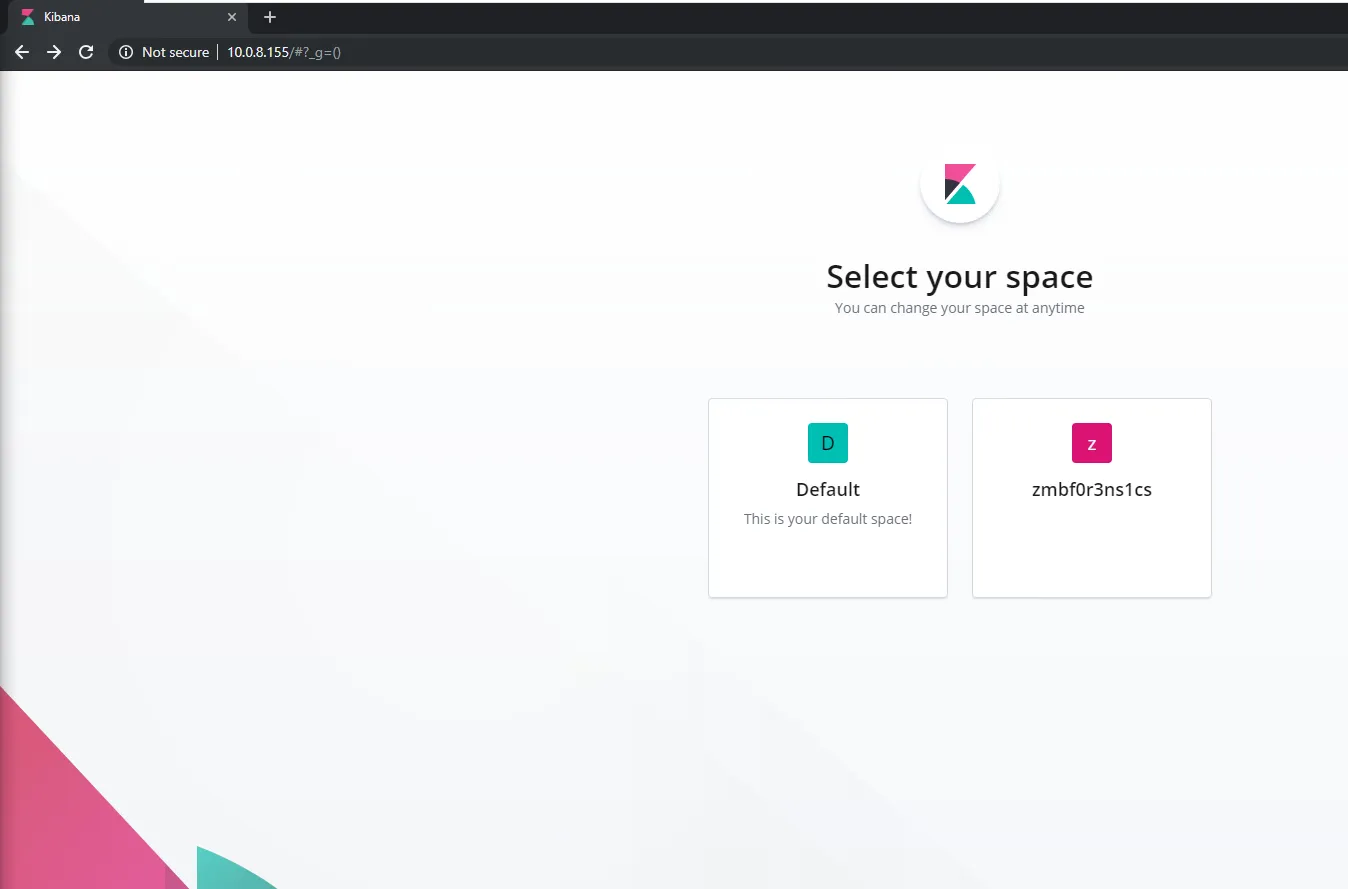
Congrats! You have successfully configured NGINX to work with Kibana. Be proud of the extra security step you have just taken.